Basic steps for the beginning of your practice binder! (make sure to bring it to lessons)
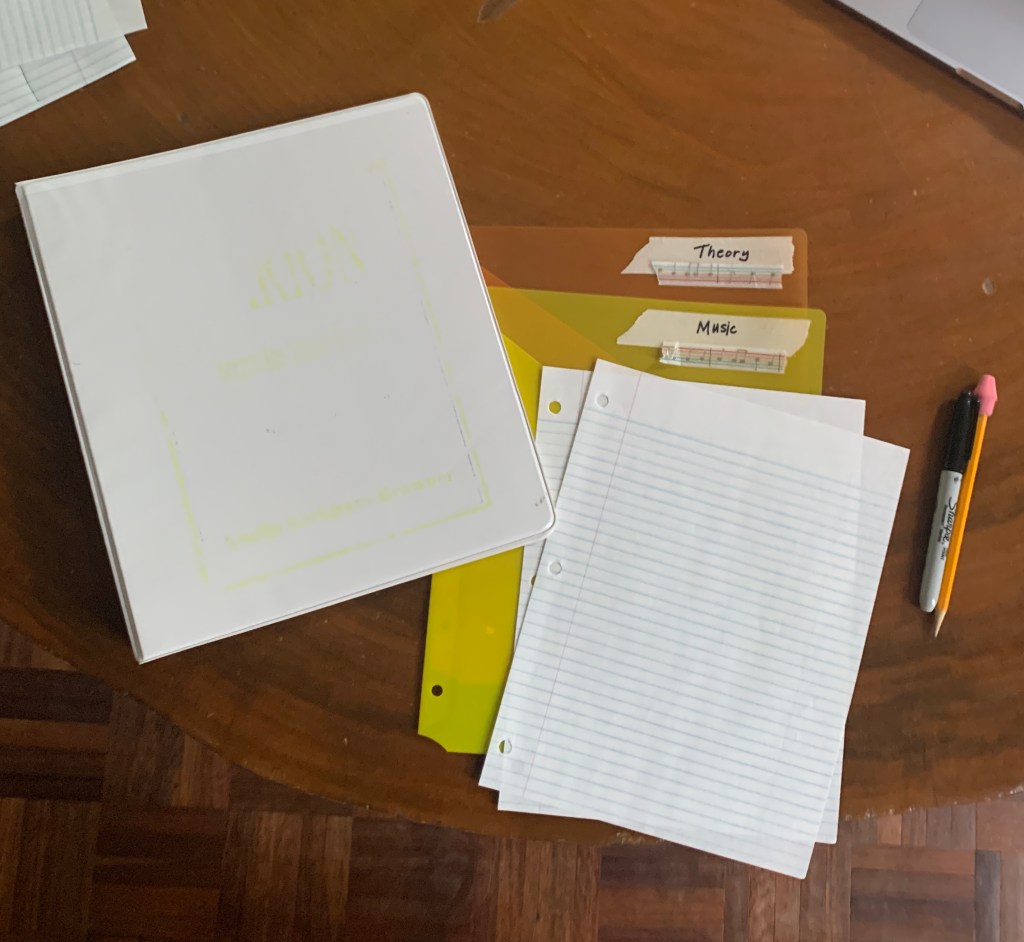
Necessary materials:
1
binder
2
dividers + sheets of notebook paper
all
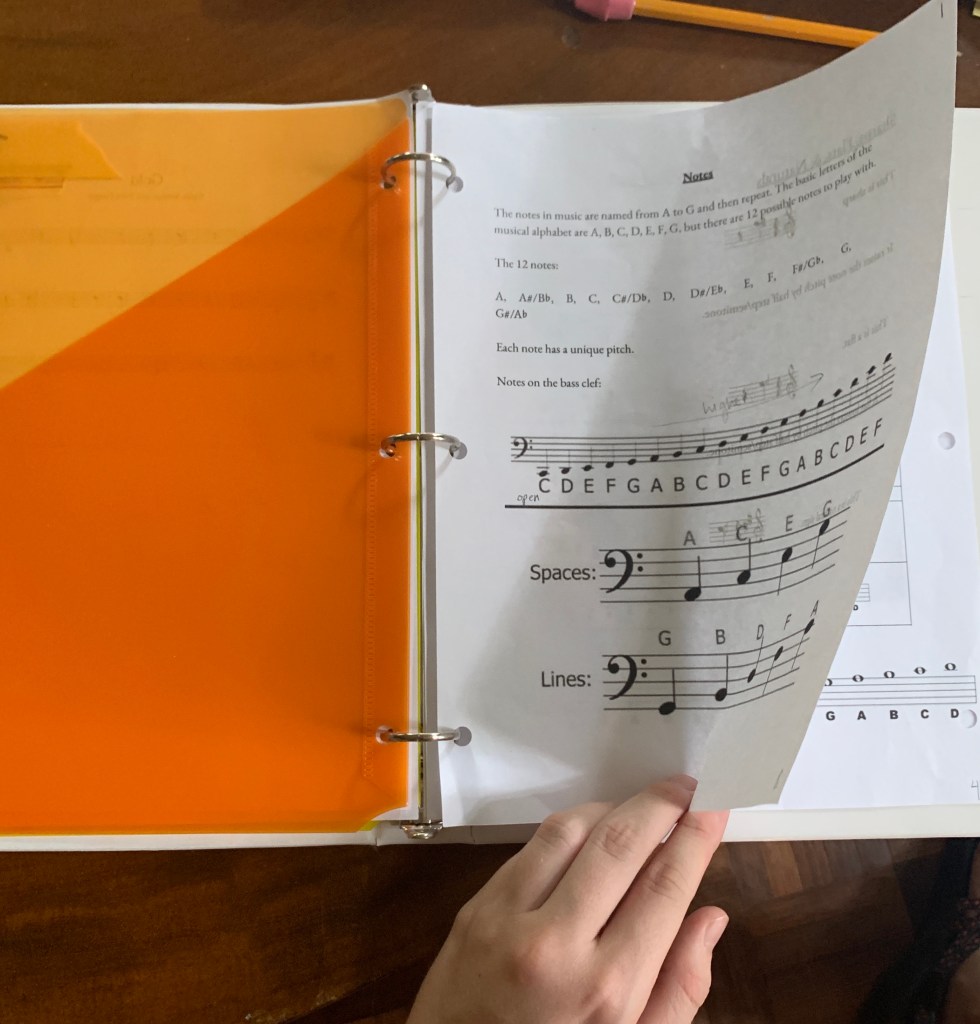
your music and theory pages

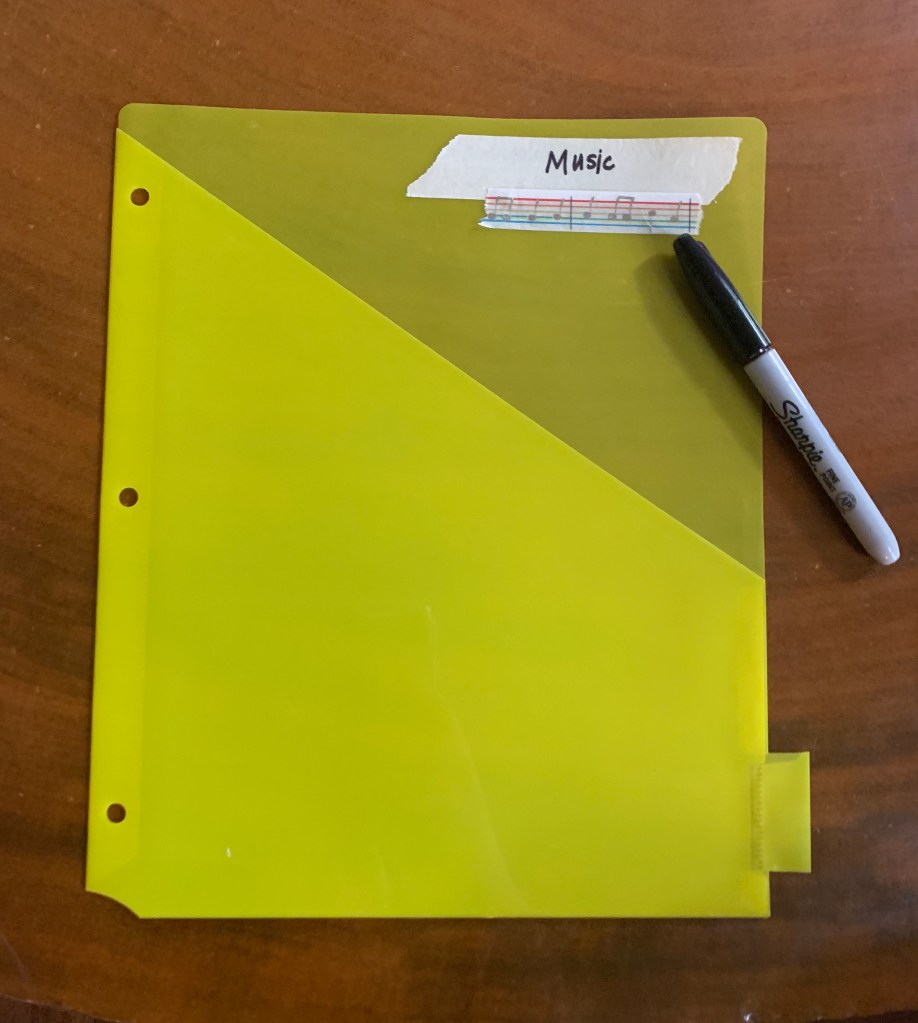
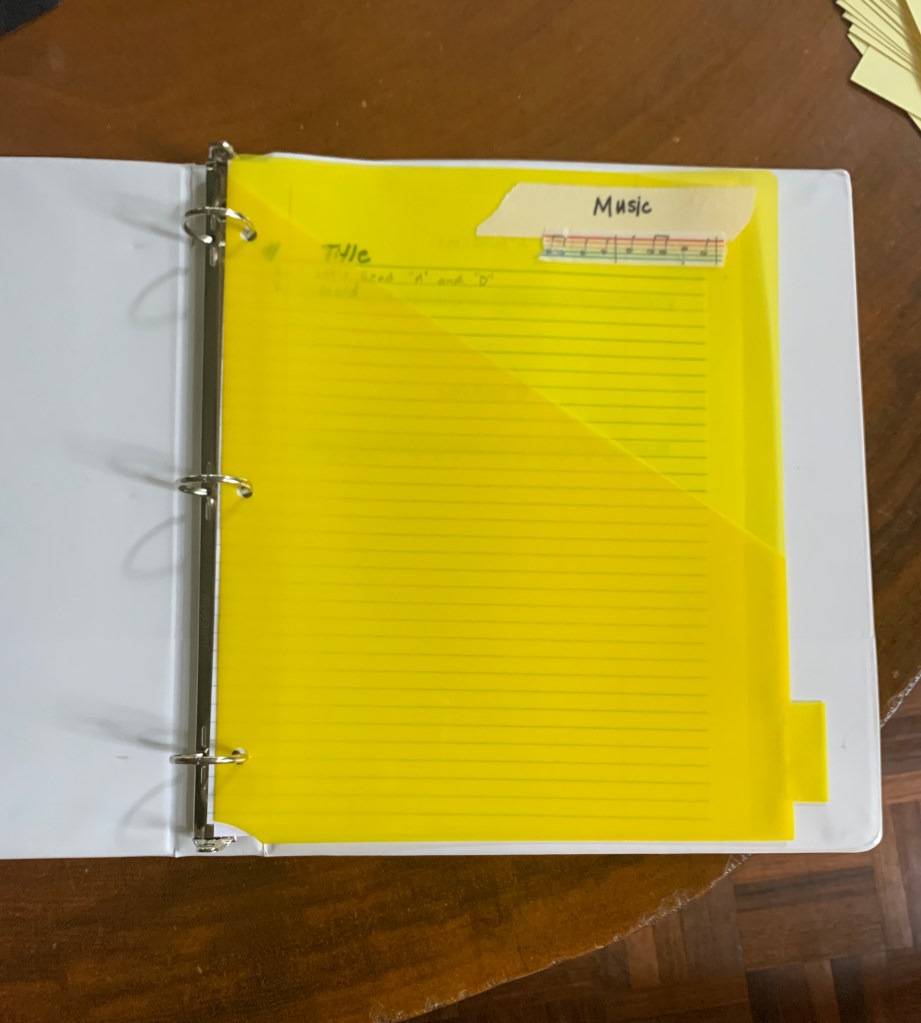
Step One:
- label your first divider “Music”
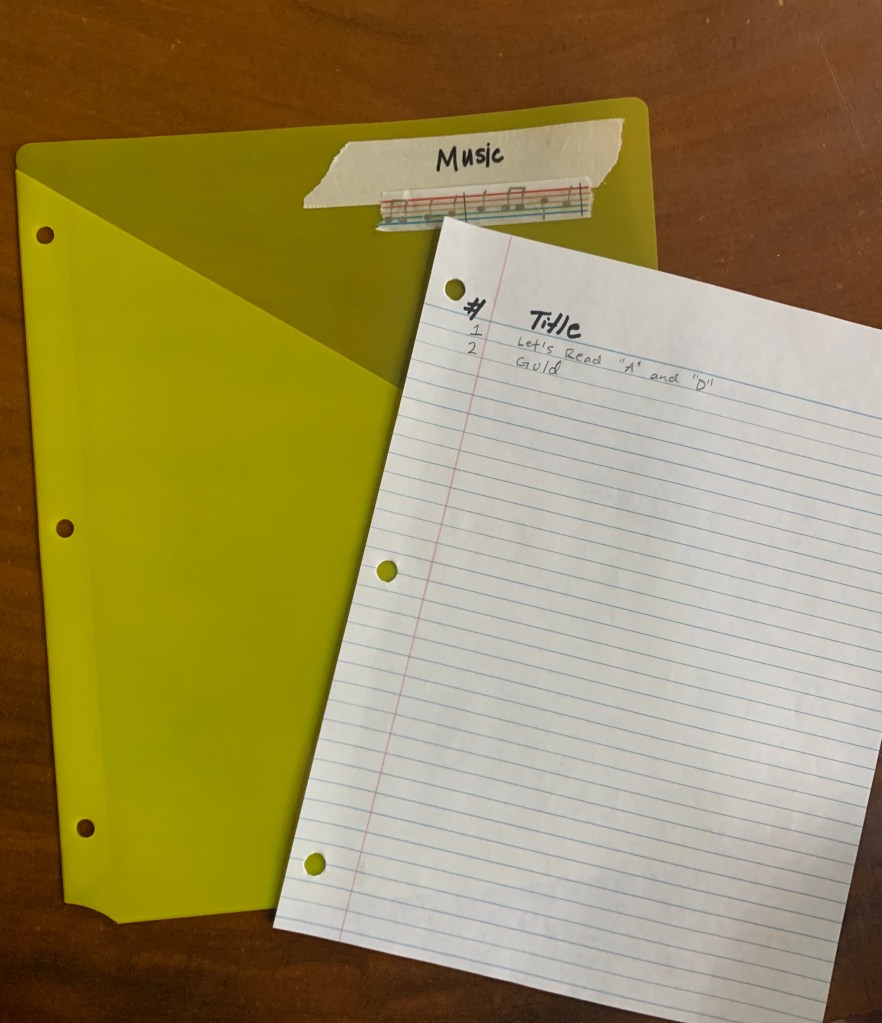
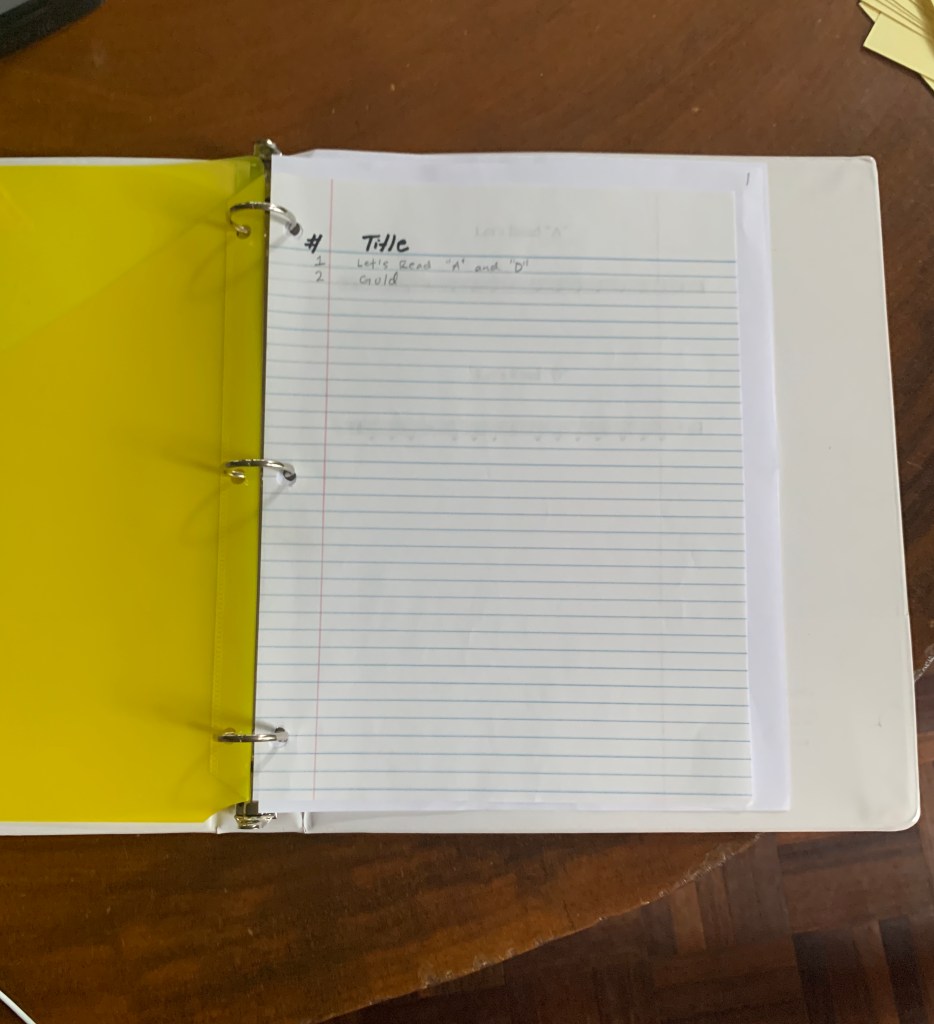
- create a Table of Contents placed behind the divider tab

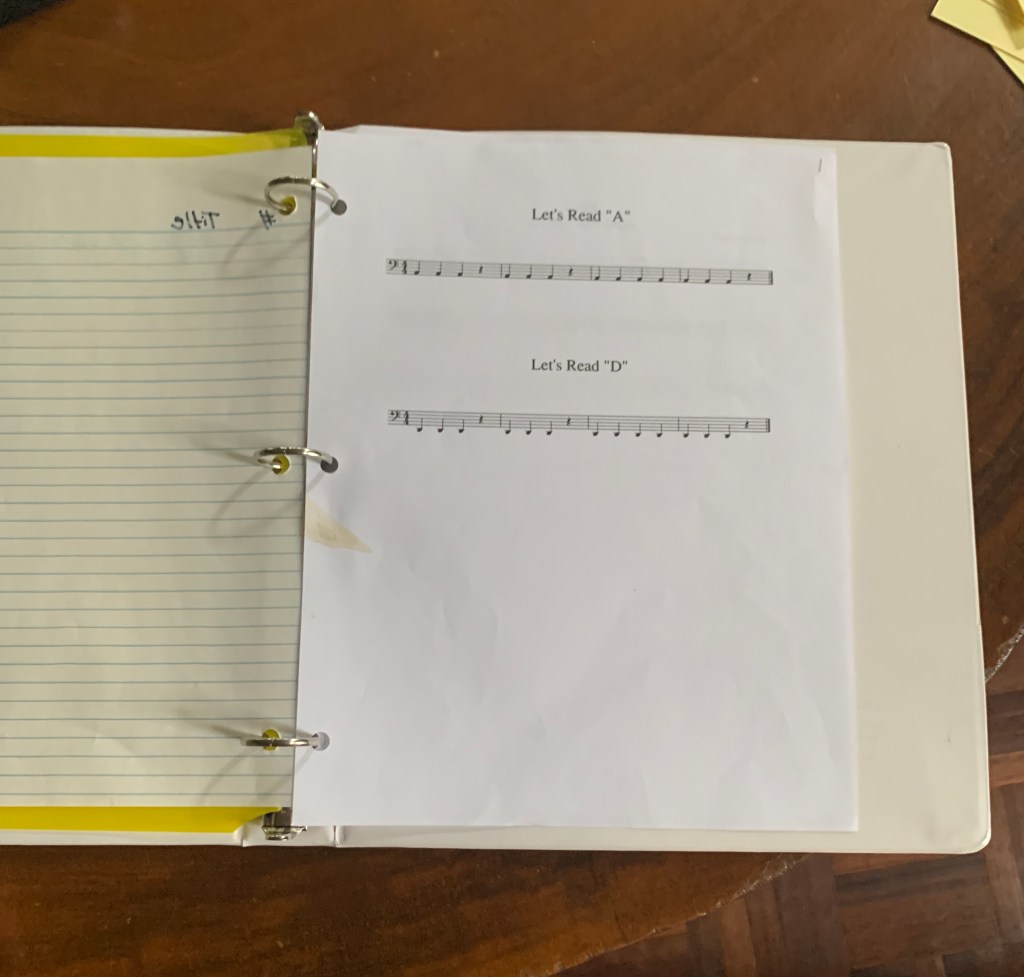
Step Two:
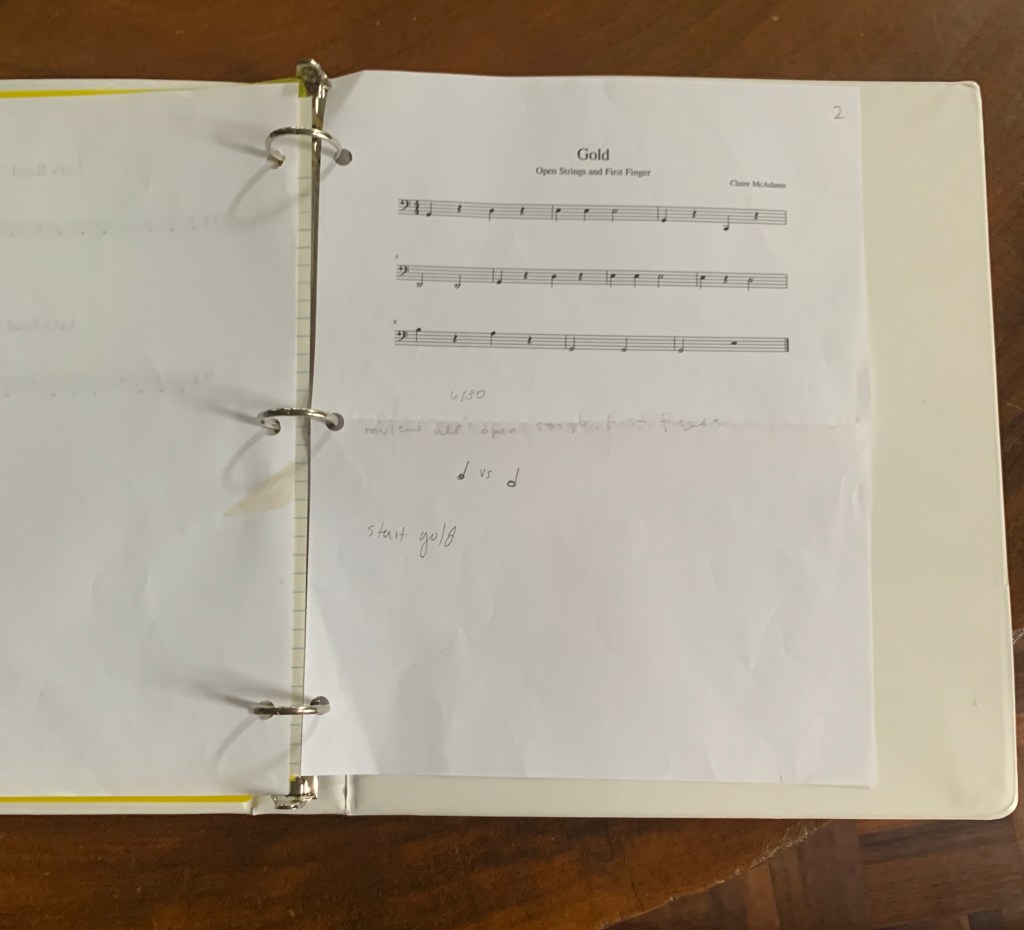
- according to the order of your Table of Contents, put your pieces into the binder
- (behind the “Music” divider)
^ Use the second button to create your Table of Contents!

Step Three:
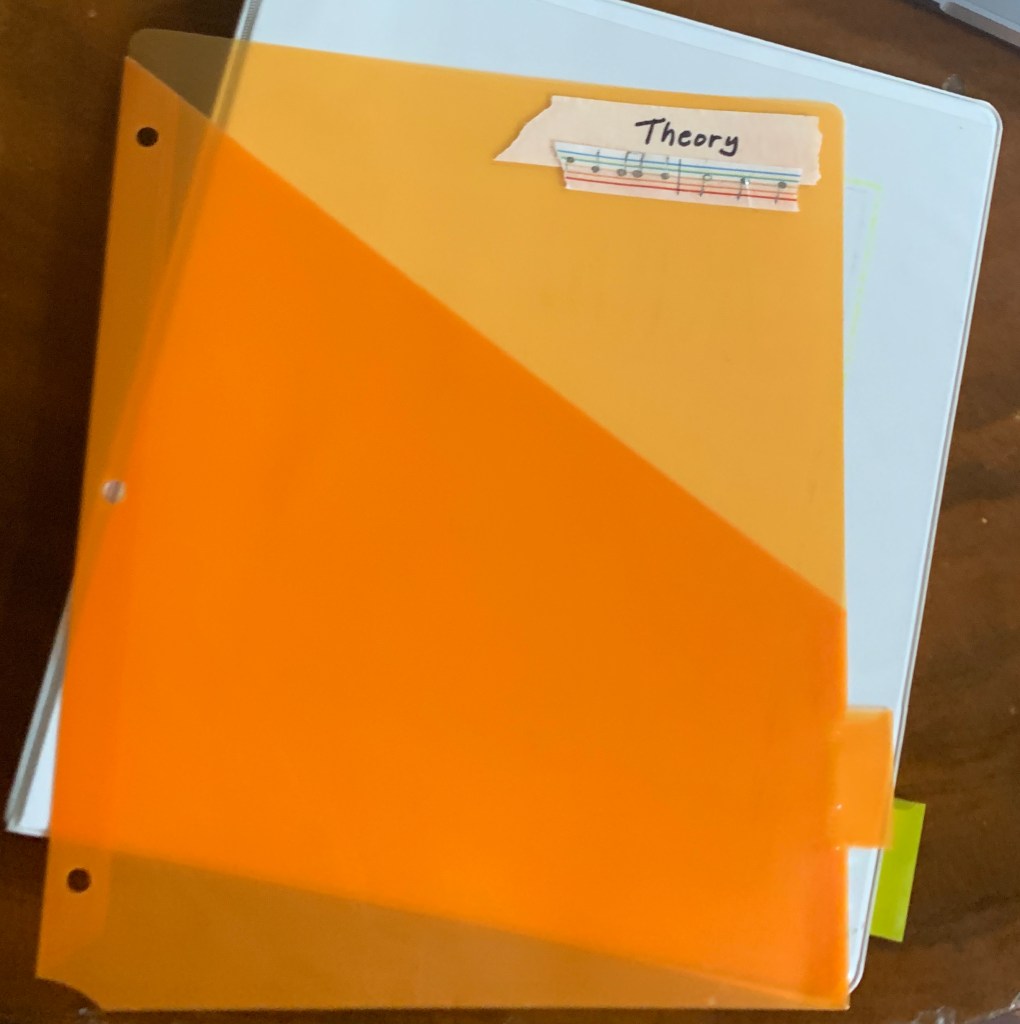
- label your second divider “Theory”
Step Four:
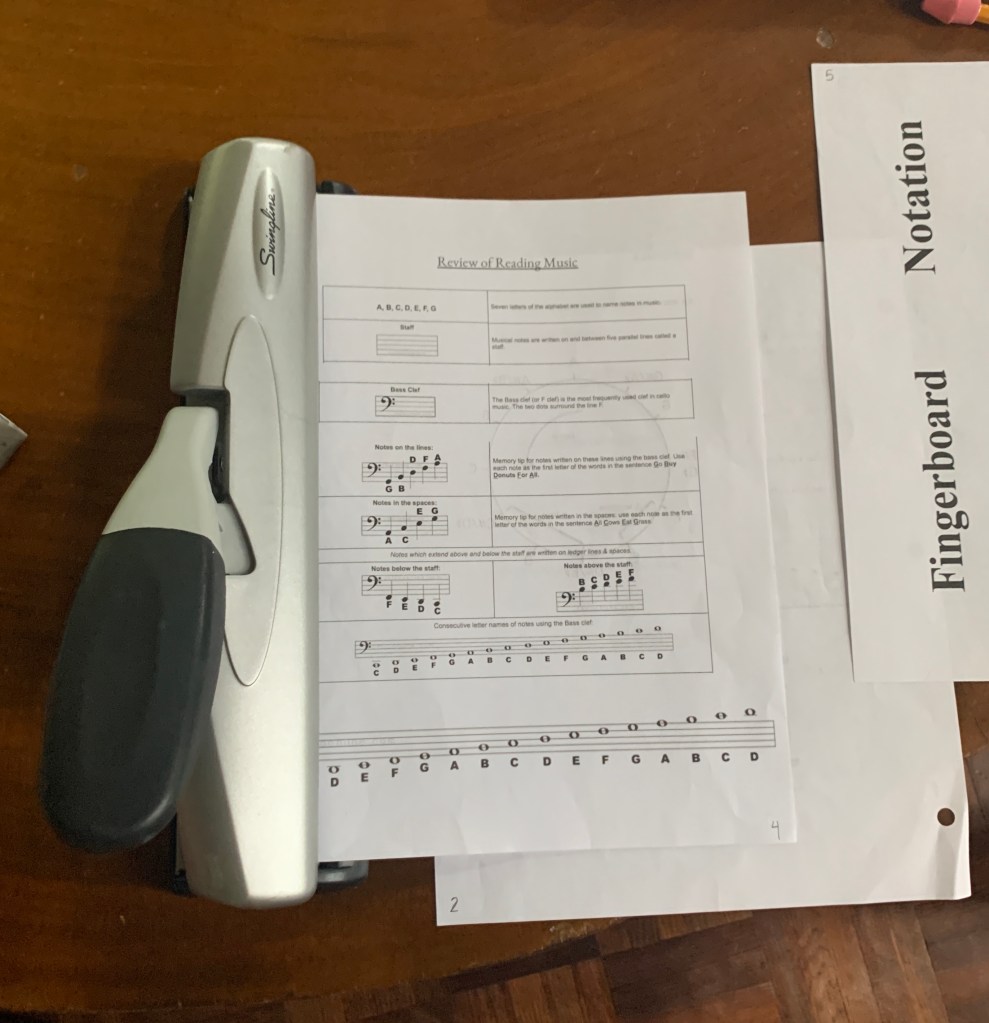
- in order, put your theory pages behind the divider

You’ve done it! Keep your binder clean and organized for easy access.
These are the required steps to create a practice binder for my lessons, but there are endless other things you can do with your binder. Here are some ideas:
- Add a Practice log! Here’s an example:
| Date | Time | Content |
| July 26 | 20 min | I practiced Gold with a metronome, focused on counting correctly |
| July 27 | 15 min | I warmed up with Gold, spent time on second finger notes |
| July 29 | 25 min | I played Bach’s Prelude in G focusing on string crossings |
- Add a section for Homework. You can write down what you have to practice before your next lesson!
